Tuesday, June 4, 2013

Keyboarding


Keyboarding is a method of entering information into a device usually a computer or typewriter using a keyboard. With keyboarding you can compose a variety of documents, memos, letters, flyers, reports, invitations, newsletters; the list goes on and on and on. Keyboards can be found on cell phones iPads, iPods and iPhones. Although you cannot use the proper techniques when typing on these devices, they are very popular, especially on the cell phone.


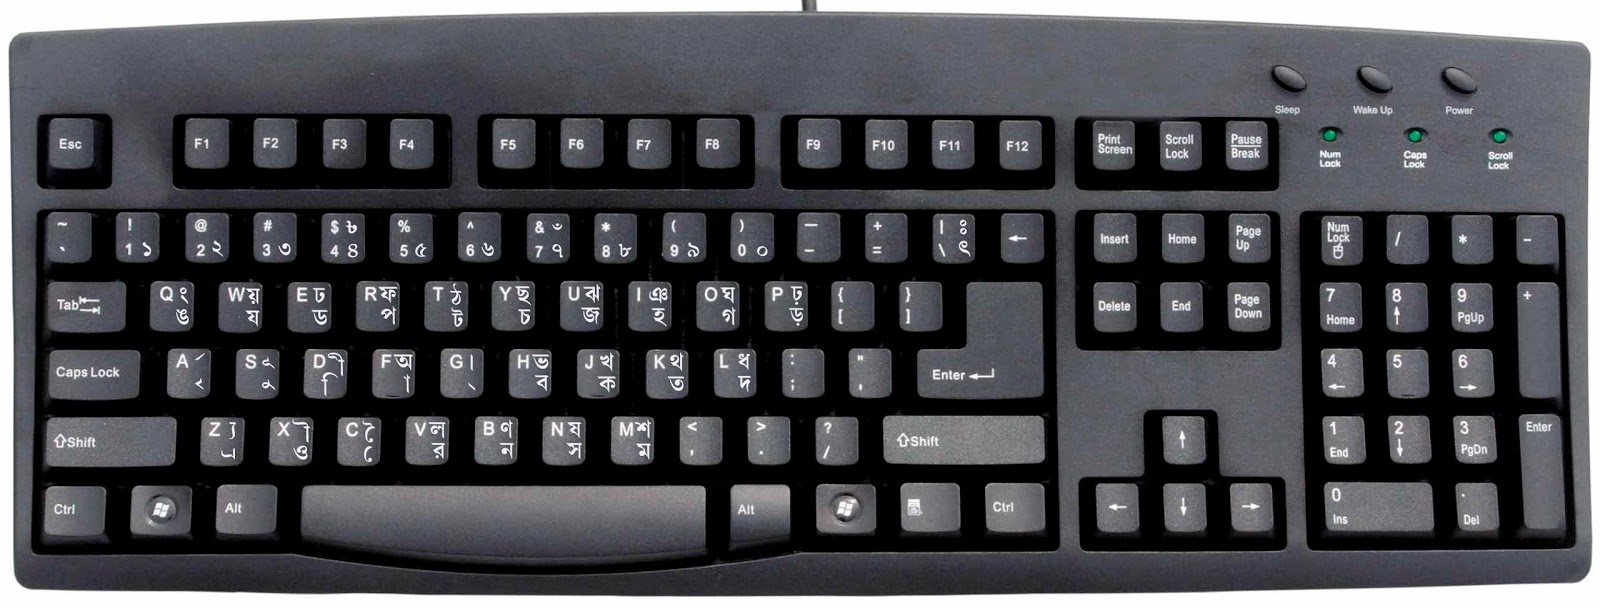
The keyboard on the computer is very much like that of a typewriter. The keyboard on the computer has many more functions than that of a typewriter. The numeric keyboard can also be found on the computer keyboard. This is very helpful when calculations are needed to be done.

As mentioned earlier, the keyboard can also be found on the iPad. You may not be able to place your fingers as you would on a regular keyboard but it's pretty close. The keyboard on the iPad is easy to use. It is set up the same way as a regular keyboard but you have to switch between keypads to get to numbers and some symbols.  You may also purchase a regular keyboard to hook to your iPad which makes keyboarding easier.


Microsoft Office


Microsoft Office Word is a word processing system that allows you to produce or create various documents. Word has many features designed to help produce professional looking documents. These features include adding borders to tables and pages, shading, and pictures.


Microsoft Office Word allows you to perform other tasks as well. Like detecting and correcting spelling and grammar mistakes. You can also email your 
                                      document as an attachment.Microsoft Office Word makes keyboarding user friendly. Several documents the can be composed with Microsoft Office Word are flyers, memos, and letters.

Proper Keyboarding Technique

Entering information into a typewriter or computer a person must use the proper techniques in order to be efficient. There are several techniques that are used to enhance your typing skills. These
skills include:
  1. Your workstation should be arranged with the document to be keyed on a book stand positioned on the right side of the desk slightly behind the keyboard.
  2. Your fingers should be curved and upright over your home row keys. 
  3. The forearms are paralleled to the slant of the keyboard. 
  4. Your body is erect with your back against your chair and your feet are flat on the floor.   
For more information on proper keying techniques, below are several websites to help you:Keyboarding Technique, Rapid Typing Techniques, Review Typing Technique

These techniques are very helpful and work. They enhance your productivity as well as your speed and accuracy. Try using these techniques and see if you can tell a difference

Remember: PRACTICE MAKES PERFECT!!! 


Home Row Key Positions


Your home row keys are the basis for good typing. Knowing the home row keys allow you to maneuver within the keyboard with ease. It also helps with speed.

The home row keys are ASDF for the left hand and JKL; for the right hand. Don’t forget your fingers need to be slightly curved and upright. Your thumbs are used for the space bar. Below is an illustration of the proper placement for your home row keys.

Before you begin to learn to type using a keyboard, try taking a test to see where you are. At the of class, take another test to see if you have improved or what you may need to work on. Here is a site that will get you going: Words per minute

To practice your home row keying, try these websites:  


Top Row and Bottom Key Positions


The top row keys are the key above the home row keys. They include QWERT for the left hand and YUIOP for the right hand. The bottom row keys are the keys below the home row keys. They include ZXCVB for the left hand and NM,./ for the right hand.

The keys on the keyboard below are color coded to help beginners learn the proper keying positions on the keyboard. The colors orange, purple , and green represents the positions on the left hand. The colors pink, turquoise, lavender and yellow represent the finger positions on the right hand. The blue represents the position for your thumbs.


Proofreaders' Marks


Proofreaders’ marks are very important to know when you are editing a document whether for a school assignment or on the job. Proofreading is necessary because you would like to turn in quality work to your teacher or supervisor. When grading an assignment, I use these standard symbols to help students correct their documents before turning it in for the final grade. These symbols are universal so most everybody who knows anything about keyboarding should be aware of them.

Proofreaders’ marks are usually minor typographical/mechanical mistakes. They are done within the paper itself where the correction is needed but sometimes you can find corrections in the margins. Knowing proofreaders' marks are essential to those who write.

To read more about proofreaders' marks go to: More About Proofreader's Marks

Below is a link where you are able to view and study a variety of correction marks.

Extended list of proofreaders' marks 

Now that you have read and viewed the many different proofreaders' marks, practice what you  know by going to: Proofreaders' Marks Practice and Quiz


Flyers


Flyers are announcements or advertisements making people aware of an event or product. Flyers are usually on a regular sheet of paper and the information is printed on one side. It is like a fact sheet giving only the necessary information.


Flyers are not hard to produce. It can be done using Microsoft Word. When you make a flyer, your first line should have no more than five words and they should be in all CAPS. The lettering in the first line should also be bigger than the rest of the letters on the Flyer. Microsoft Word has clip art and other features that can make your flyer look attractive. With Microsoft Office Word you are able to make the print bold, italicized, larger or smaller, colorful or black and white. You also have the option to change the text to have different effects.

Just remember to add an image and keep the flyer to one page!!!


Check out several different flyer examples at: Flickr-flyers


Try putting together this flyer: Hidden Lake Announcement


Take a short quiz on flyers, go to:Flyers-Quiz